Dahlia tuber storage, updated for 2024
Keeping your dahlia tubers healthy until spring requires extra care in our dry Alberta winters. I store mine each year for roughly 7 months and have learned what works best in my climate. You can improve storage success rate with how you treat your tubers before they go into storage as well. I take the following steps each fall to keep my tubers in great shape for the next year:
1) In the last month before an expected frost, I reduce the watering and fertilizing gradually and then stop completely. This helps the tubers firm up and be less prone to rot during storage.
2) Dahlias do not need to be killed by a frost before you dig them up. You can cut them back and dig them before cold weather arrives. Because dahlias need almost 5 months to produce new, strong tubers( my entire growing season!), I let my plants grow as long as possible for maximum tuber production. After the plants have died or been cut down, I leave the tubers undisturbed in the ground for a week to develop eyes. This makes it easier to divide the clumps.
3) When lifting tubers, I keep the clump intact. I never wash my tubers. It’s unnecessary for me as my soil is loose and falls off the tubers. It’s also impractical as I don’t have a running water source at the farm and the weather can be quite cold and miserable. I let the clumps dry in a warm place for 24-48 hours before packing to reduce the chance of rotting during storage. I only divide tuber clumps that are too large to fit into my storage bins.
4) I don’t dig all my tubers each fall. I dig enough to get 20 or so tubers of each variety for next season, usually 5 of each plant. I carefully inspect each tuber for signs of gall and put those in the burn pile. Any plant that grew stunted or produced flowers that were not the correct form or color also gets rogued and put on the burn pile. Extra, healthy plants get left in the ground to rot. There is less soil disturbance and less work for me.
5) Tubers must be kept at a cold, but not freezing temperature to keep them dormant. I store mine in my heated garage which stays at about 5C even during the coldest parts of winter. A cold storage room in your house could work as long as temperatures stay between 5C and 10C. Do not let your tubers freeze or they will rot.
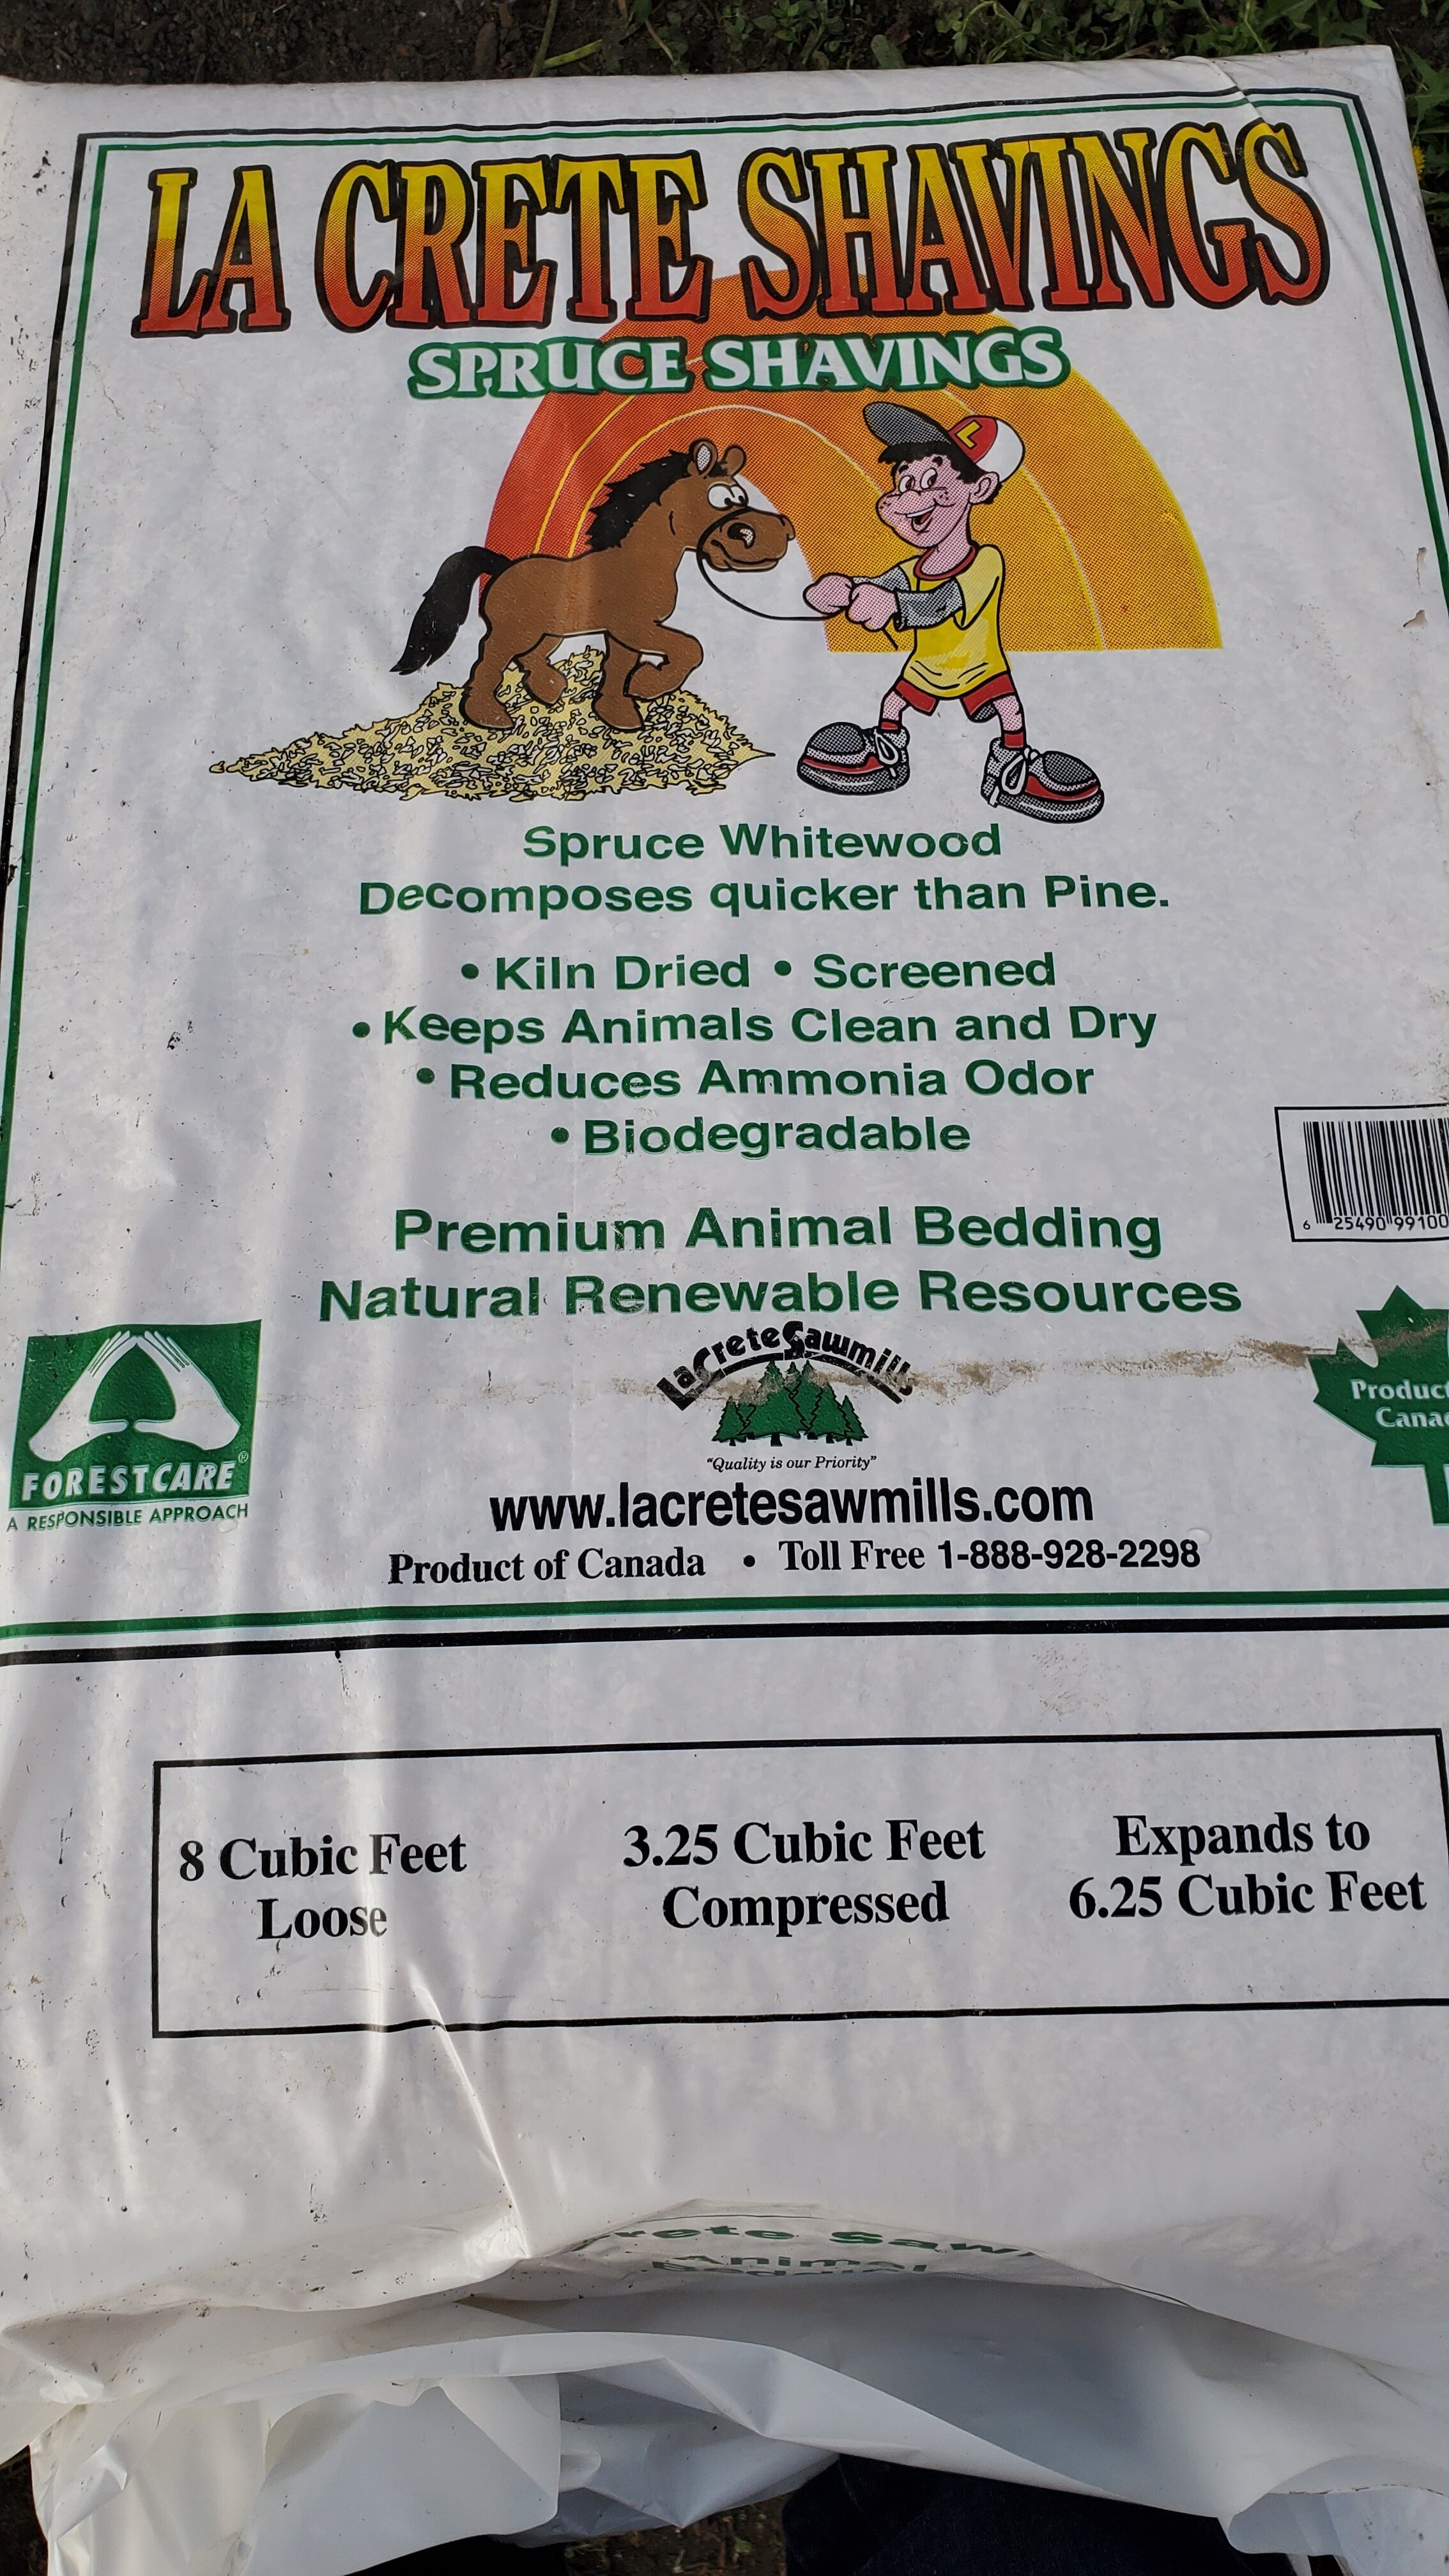
6) Once the tubers have cured for a day or two at warm temperatures, I pack them with spruce shavings in Rubbermaid totes. The totes have holes for ventilation and lids. I layer shavings and tubers until the bin is full, to ensure all the tubers are covered and not exposed to the air. Any tubers that aren’t covered will dry out and may not be viable in spring. Spruce shavings are my favorite medium for storing because it’s a renewable resource, it absorbs any moisture the tubers give off and in the spring when we’re done with it, we reuse it as chicken bedding. We find it in big bales at our local feed store at a very reasonable price.
6) Each tuber clump is labeled with a wooden tag written on in grease pencil showing its variety. I record the contents of each bin in my notes App on my phon7. Bins are numbered so I know the exact number and kind of tuber in each one. This is an extra step to prevent a huge amount of “mystery” tubers from creeping into my inventory.
8) We stack the full totes on shelves off the floor of the garage to prevent them from getting too warm or too cold. The warmer winter temperatures of the past few years have increased the incidence of my tubers rotting or coming out of dormancy too early. I have changed my practice of keeping the lids on tight throughout the winter. I place the lids on the bins, but set at an angle so they don’t cover the bin completely. I check the tubers occasionally during the winter, looking for signs of rot or desiccation. If tubers look like they are getting too dry, I will close the lids tight to keep the remaining moisture in. In my experience, a tuber that is a little dried out will still sprout and perform well. A rotted tuber is a loss.
8) By April when outdoor temperatures start to rise, tubers naturally start to sprout. This is when you can remove your tubers from storage and pot them up to get them growing indoors, take cuttings and transplant outside. I found this step too costly and without enough benefit to continue. Instead, I plant my tubers directly from the storage bin into the ground in June, dividing them just before planting. I typically have blooms 8 weeks after planting sprouted tubers in the ground, with full production by 10 weeks after planting.
9) A very important footnote about working with dahlias: anytime you are cutting stems, dividing tubers, or trimming roots, you must use clean tools. I throw out all diseased looking tubers every year, but not all plants that are infected with a virus show obvious signs. I know I miss some, so I take care to clean my clippers with an antibacterial wipe or a bleach solution when making cuts into the plant.


